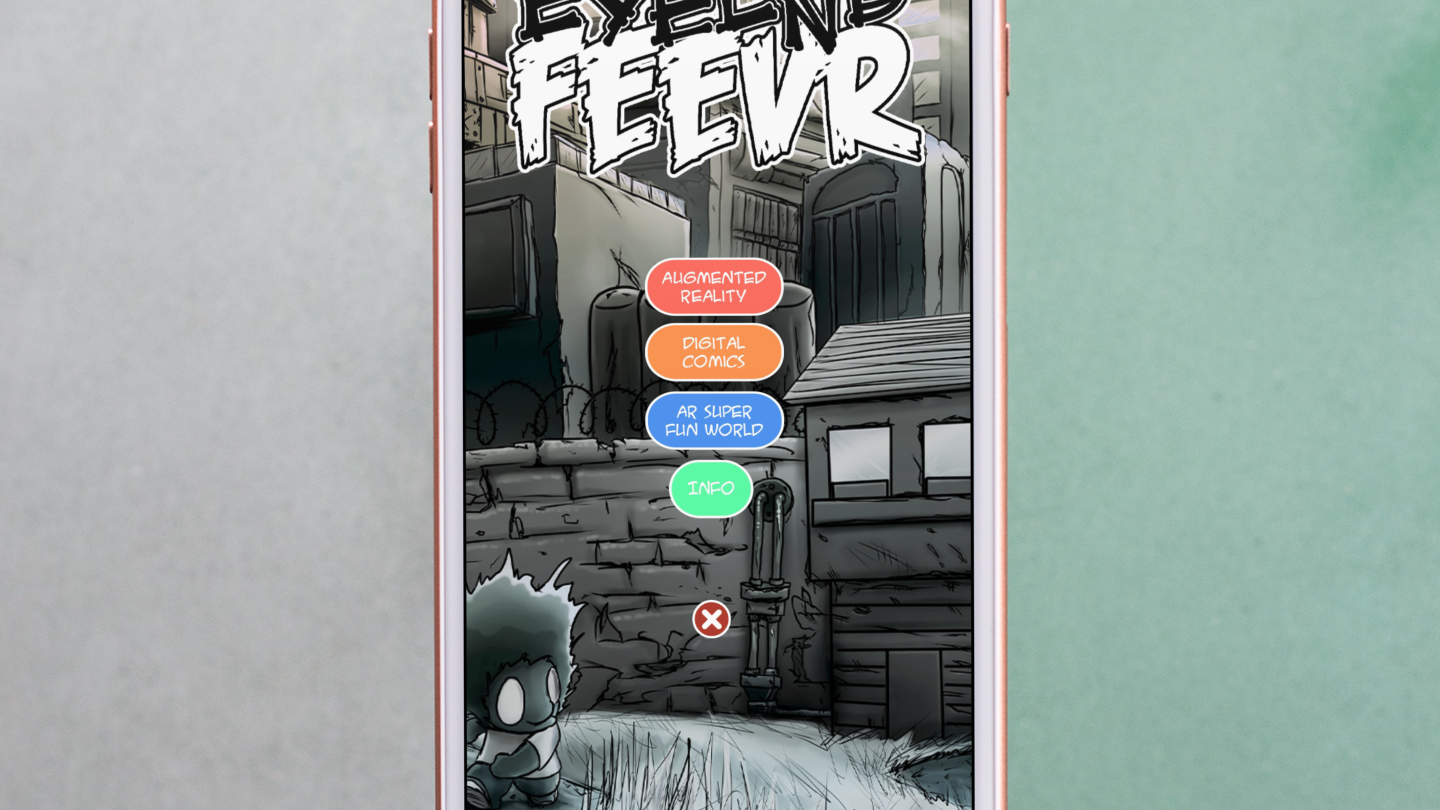
So today I decided to turn a sketch on paper into an interactive art piece using Unity, Augmented Reality, and Vuforia. The goal was to see how awesome I can make a simple drawing and push the idea of combining technology and art as far as I could take it. At the end of this little journey, I ended up with a sketch of a character named Cubey, an AR app for my Android phone, and a pretty cool experience to play with.
I started by sketching out a box and turning it to a cube. I really wanted to keep the drawing simple and sweet. With my style, I always start my drawings with simple shapes: circles, squares, and triangles. I wanted to make sure the drawing had a 3D nature to it so that the 3D model I chose fit with the illustration. Again, this was really a test of the concept and not really a test of my craft, but we all know that the simplest things go the furthers. I was pretty pleased with how it turned out though.
Afterwards, I decided to scan the image to the computer. Unfortunately, I didn’t have a scanner because when I moved to my new place, I broke it. So, the handy, creative man that I am I decided to use my phone. I have a Note 8. It maybe a few generations old, but I paid good money for it, I do all my app testing on it, and I have tons of apps. I tried taking a few pictures, but things weren’t to my liking. I ended up downloading Adobe Scan since I have a subscription, and used the scanner to make a good snapshot. I then sent it to my computer with Dropbox and opened it in Photoshop.
In Photoshop, I cropped the image so that it matched the size of the original drawing. This is very crucial because the Image Targets in Augmented reality need images that are the same proportions as the reference image to recognized properly. I also added some contrast to make the Image more recognizable.
Once the image was done, I opened up the Unity Hub, made a new project, changed to Android Support in the build settings, and imported the Vuforia SDK. Vuforia is an easy way to get started with AR in Unity, and has really good image tracking support. Probably the best I have used so far. The downside with Vuforia is that if you want to put the app on the app store, it will cost you an arm and a leg. That is for another conversation though. After the install, I added an AR camera, deleted the Main Camera, and added an Image Target GameObject in the hierarchy. In the Inspector for the Image Target, I set the Type to From Image, and added the Illustration to the Image Target. In the Advanced tab, I made sure the image size was converted to meters. Inches is much smaller than meters and we don’t want to mess up the scale.
I then added a 3D cube to the Image Target, and placed it as a child of the Image Target Game Object. This allows the AR content to appear when the Image Target reference is recognized by the App. Afterwards, I started adding some Interactions to the app to make the art more interactive.
I first started by adding a Canvas and a Panel to work as a backdrop for the UI. I made it an Opaque Grey. I then added some sliders and text for a rotate function and a scale function. I kept it simple because this was just a demo of the concept and not a fully fleshed out App. If anything, I could have spent hours on the design. Maybe I will in a future project, but now I just needed to whip something up really quickly.
When the UI was done, I started scripting. This was pretty simple. I tend to make scripts that I can manipulate in the inspector because Unity has great featured that don’t require you to code all the time. Especially because I tend to code at like 2 am and I always find myself messing up my apps because I misspell words or leave ‘s’s’ out of functions. So I put together a simple scale that references the slider value. The X,Y, and Z transform of the 3D object would be based on the same value from the slider. In the Update function, I used a transform.localScale. For the Rotation script, I did pretty much the same thing. I set a script in the update function to use the localEulersAngles. The X and Z were 0 and the Y references the Rotation Slider value. Otherwise there would be some crazy rotations going on.
After the scripts were done, I put all the scripts on an empty gameobject, put the 3D model in the empty game object, added the sliders to the reference script area, and tested it out. It worked fine, but I really wanted to spruce it up. Remember, we are trying to make an awesome simple interacted AR art masterpiece. So I put my Animator hat on and opened up the Unity timeline.
I would say that the timeline is one of my most favorite things about Unity, real time rendering allows me to play with 3D assets in AR much like I would in Photoshop and After Effects. So I opened the timeline, I locked the timeline in the top right corner, I added an animation controller by pressing create, then started animating. Animation on objects is really simple. All you have to do is make sure the object is selected, press the red button on the timeline. Move the object to make a keyframe, move to the end of the timeline, and copy the keyframe. Now you can move to different areas of the timeline and place the object in different areas using the transform tools. When you are done, press the red button to close the animation.
Once the animation was done, I made a UI button on the canvas, set the pressed color to red so that I know when it is pressed, and added the Cube to the OnClick settings so that the animation plays form the playable director on the cube. Now that all the pieces were done, I finally had an app! I exported out the project to my phone and played around with my new interactive AR masterpiece.
If you liked this fun little quirky project and journey, make sure you check out my course on Skillshare where I walk you through the whole process from start to finish. If you go to the link in the description, you can take the course for free and have 2 free months of Skillshare: https://skl.sh/3ihvu0Y
You can access the course for free here while access code supply lasts — https://skl.sh/33G1mZm